Essential Steps for Flood Cleanup and Mold Prevention
When water invades your home, the clock starts ticking. I have seen it happen time and again in Boston basements and coastal neighborhoods. A pipe bursts, a river rises, or a heavy storm overwhelms the drainage. Within hours, the real trouble begins. Flood cleanup and mold go hand in hand, and the difference between a quick recovery and a long-term health hazard often comes down to the first 48 hours.
Standing water is only part of the problem. Every soaked piece of drywall, every damp carpet, and every wet wooden stud becomes a breeding ground for spores. Mold does not wait for you to finish drying things out. It starts colonizing the moment moisture lingers. That is why I always tell homeowners to treat flood cleanup and mold prevention as a single continuous process, not two separate chores.
Why Speed Matters in Water Damage Restoration
Mold needs three things: moisture, warmth, and a food source. Drywall, wood, and even dust provide the food. A flood hands mold all three in abundance. Research from the EPA shows that mold can begin to grow within 24 to 48 hours after materials get wet. That window is your only real chance to stop it before it takes hold.
I once worked with a family in Dorchester whose basement flooded after a nor'easter. They spent the first day moving furniture and mopping up water. By the time they called for help, the musty odor was already noticeable behind the baseboards. The mold remediation team found hidden mold growing inside wall cavities that had never been fully dried. That extra day of delay turned a simple drying job into a full-scale tear-out.
The Right Safety Gear for the Job
Before you pull out the wet/dry vacuum or start hauling soggy drywall, protect yourself. Flood water often carries bacteria, chemicals, and sewage. Even clean tap water can hide trouble once it sits. OSHA recommends wearing an N95 respirator at a minimum when working in areas with visible mold growth. If you are dealing with raw sewage or chemical contaminants, step up to a half-face respirator with P100 filters.
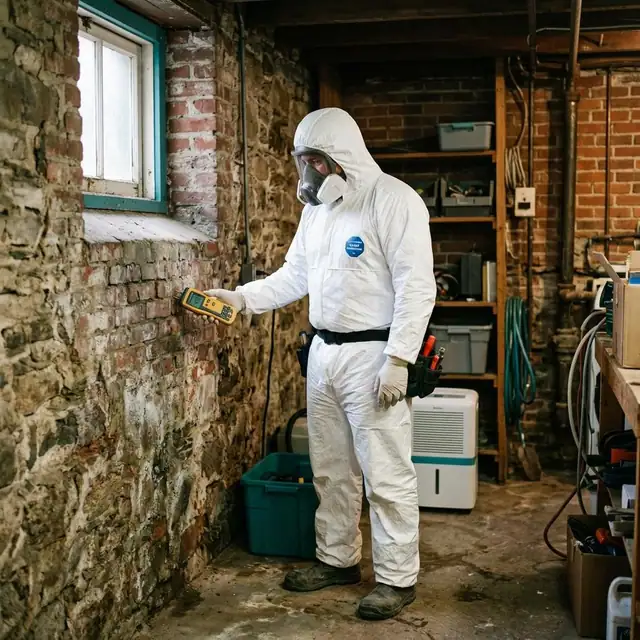
Gloves and goggles are non-negotiable. I have seen people skip eye protection and end up with irritated eyes from splashing moldy water. Long sleeves and waterproof boots keep contaminated water off your skin. The Boston Public Health Commission advises residents to treat all flood debris as potentially hazardous until proven otherwise.
Remove Water Fast with the Right Tools
A sump pump is your best friend for deep standing water in a basement. For smaller areas, a wet/dry vacuum works well. I keep one from Lowe's in my own garage for emergencies. Use it to extract water from carpets, floors, and hard surfaces. After the bulk water is gone, bring in a dehumidifier and set up fans to move air across every damp surface.
Do not forget to check hidden spaces. Water wicks up drywall and into insulation behind walls. It pools under floorboards and inside cabinets. Use a moisture meter if you have one, or just press your hand against surfaces that feel cool or damp. Hidden mold often starts in places you cannot see until the musty odor becomes impossible to ignore.
Cleanup Choices: Bleach, Vinegar, or Commercial Products
There is a lot of debate about whether bleach kills mold on porous surfaces. The CDC states that bleach is effective on non-porous surfaces like tile and glass, but it may not penetrate porous materials like wood or drywall. On those surfaces, the mold roots can survive and regrow. I prefer white vinegar for light surface mold on hard, non-porous items. It is less harsh than bleach and kills many common mold species.
For heavy infestations, I recommend a commercial mold cleaner or a diluted boric acid solution. Boric acid works well on wood studs and joists because it stays active even after drying. Always test any cleaner on a small hidden area first. And never mix bleach with ammonia or vinegar. That combination creates toxic chlorine gas.
When to Tear Out and When to Clean
This is where experience matters. Porous materials that have been soaked for more than 48 hours usually need to go. Drywall, carpet padding, upholstery, and ceiling tiles are nearly impossible to dry thoroughly. I have tried salvaging drywall with fans and dehumidifiers, only to find mold creeping through the paper surface weeks later. It is better to cut it out and start fresh.
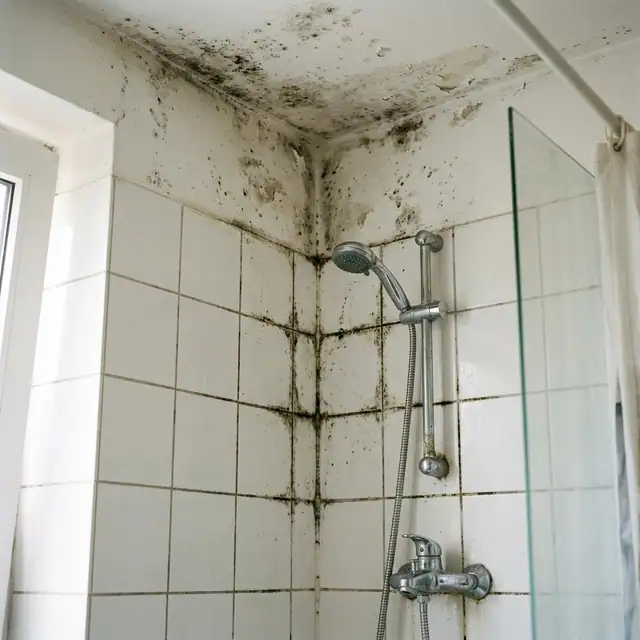
Hard surfaces like concrete, metal, and ceramic tile can often be cleaned and saved. Scrub them with a stiff brush and a detergent solution, then rinse and dry completely. Use a HEPA vacuum on floors and walls after scrubbing to capture any loose spores that become airborne during cleaning.
Drying Out the Structure
After the standing water is gone and the porous materials are removed, the real drying begins. Run a dehumidifier continuously for several days. Open windows if outdoor humidity is low. Use fans to keep air moving into corners and closets. I have seen homeowners skip this step and seal up walls too early, trapping moisture inside. That hidden moisture leads to hidden mold that does not show up until the next season.
Check crawl spaces, attics, and subfloor areas. Flood water can travel far from the visible source. I once found standing water in a crawl space that had seeped through a foundation crack, completely unnoticed by the homeowner. A moisture meter and a bright flashlight are worth their weight in gold during this phase.
Preventing Future Flooding and Mold
Once the space is dry and mold-free, think about prevention. Install a sump pump with a battery backup so it works during power outages. Grade the soil around your foundation so water drains away. Consider a dehumidifier with a continuous drain hose for basements that always feel damp. The Boston area has old homes with aging drainage systems, and a little prevention can save thousands in water damage restoration later.
Replace any insulation that got wet. Even if it looks dry, fiberglass insulation holds moisture against wall cavities. Use mold-resistant drywall in basements and bathrooms if you are rebuilding. Simple steps like these reduce the chance that the next flood cleanup and mold issue will spiral into a major remediation project.
When to Call the Pros
There is a limit to what DIY efforts can handle. If the flooded area is larger than ten square feet, or if you suspect sewage contamination, call a professional mold remediation company. They have commercial-grade HEPA vacuums, air scrubbers, and containment protocols that keep spores from spreading through your whole house. The Boston Public Health Commission can provide a list of certified contractors for residents who need help.
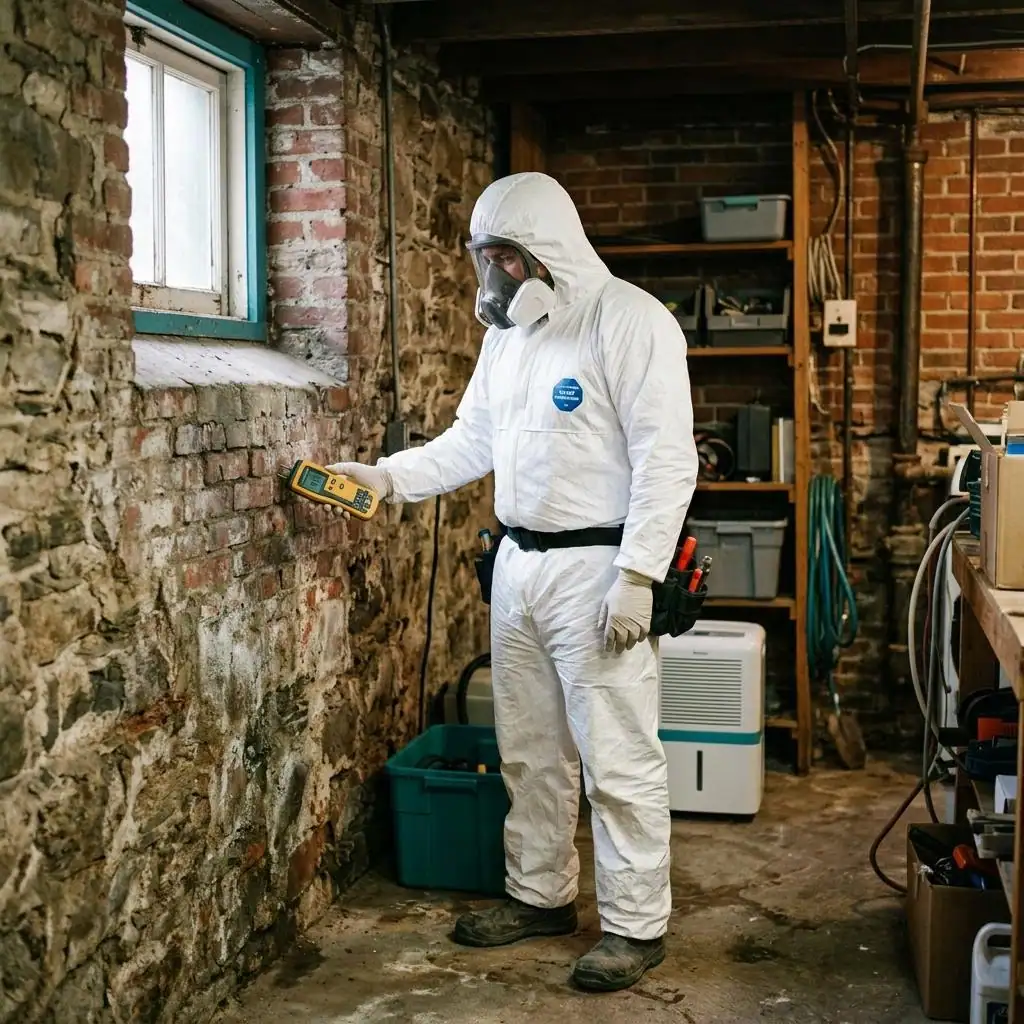
Professionals also know how to document the damage for insurance claims. They can provide moisture readings, lab testing, and written reports that help your adjuster understand the scope of the work. I have seen many homeowners try to handle flood cleanup and mold removal themselves, only to have the insurance company deny full coverage because the damage was not properly documented.
The Bottom Line on Flood Cleanup and Mold
Flood cleanup and mold prevention demand fast action, the right gear, and honest judgment about what can be saved. Every hour of delay increases the chance that mold will take hold and spread into hidden cavities. Use a wet/dry vacuum and a dehumidifier to dry the space quickly. Scrub hard surfaces with white vinegar or a commercial cleaner. Tear out any porous material that stayed wet for more than two days. And never hesitate to call a professional when the job is bigger than a bucket and a brush.
Your home will dry out. The musty odor will fade. But only if you treat the cleanup as a race against time. That is the real lesson I have learned from years of helping families in Boston recover from basement flooding and burst pipes. Act fast, work smart, and do not let hidden mold become the next problem.